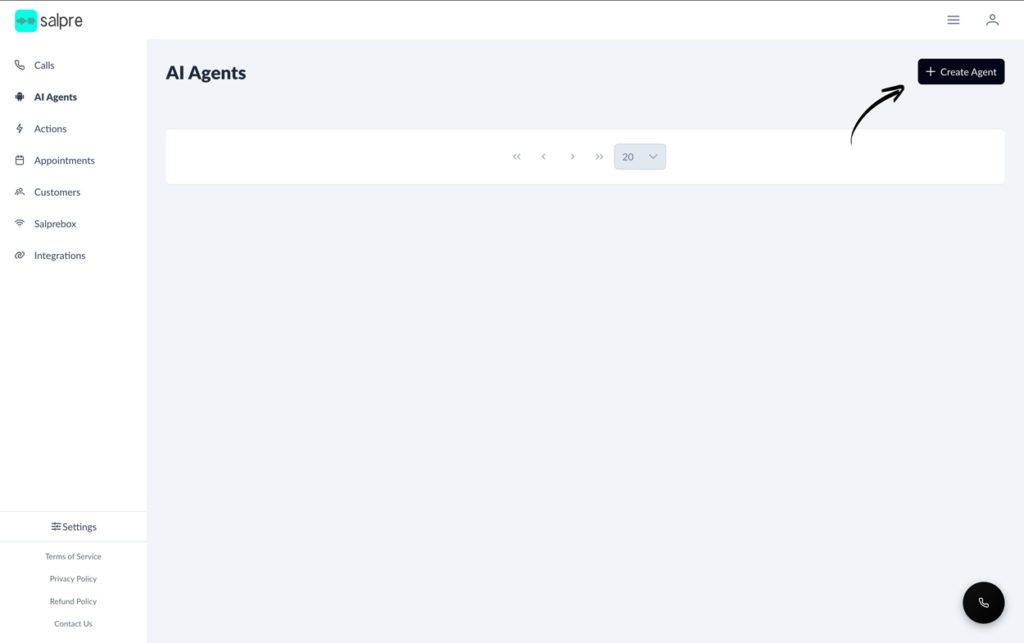
Step 1 – Starting
Click the “Create Agent” button in the top-right corner.
Step 2 – Agent Type
Select your agent type for inbound or outbound calls. You can receive more detailed instructions based on the agent’s main role.
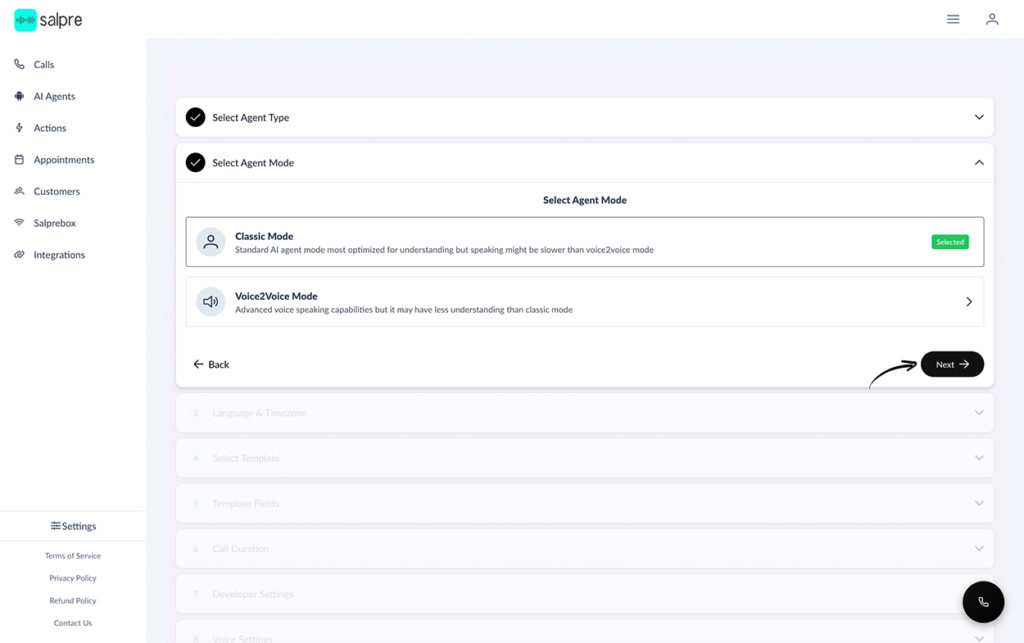
Step 3 – Agent Mode
Classic Mode: Our standard model for using STT -> LLM -> TTS structure.
- Step1: We receive the voice,
- Step 2: Send it to a Speech to Text (STT like Google) provider to convert the voice into a text.
- Step 3: Send that text to Large Language Model (LLM like ChatGPT) and LLM gives us a response.
- Step 4: Send this response to a Text to Speech provider (TTS like Elevenlabs) to convert it into a voice.
- Step 5: Finally we send this response back to the phone.
Voice2Voice Mode: This is an option for our customers to use Voice-to-Voice models available in the market, such as OpenAI voice agents or ElevenLabs voice models. At the current stage, they respond much faster, but their intelligent capacity seems limited, and language options are restricted according to our tests.
We keep adding new models into our Voice2Voice model options for our customers. We believe Voice-to-Voice models will be the future.
Step 4 – Language & Timezone
Select a language for your AI agent to speak. This will force the agent to use the selected main language, but you can also define these details in the agent prompt to make it more dynamic if needed.
The time zone will help your agent understand local time. It can automatically detect your selected time zone. For example, if someone says, “Create an appointment for tomorrow at 6,” your agent can interpret the time correctly and create the appointment based on that information.
Step 5 – Select Template
These templates are created to give our customers a basic default starting point they can work on. You can select a template by clicking the “Apply” button under the template name. Then the template prompt will be copied automatically into the agent prompt.
Step 6 –Template Fields
Instructions: This area contains the key instructions your agent will use about itself. You can type these instructions in the same language your agent will speak. For more details about prompt engineering for voice agents, you can research on Google, YouTube, or use pre-made GPTs for better prompting.
Example GPT’s:
Greeting Message: This is the first message your agent will say as soon as the connection has been established. You can leave it empty if you want your customers to speak first before your AI agent.
Step 7 –Call Duration
This is the maximum time your call will remain active. After this time, the call will be closed automatically. We highly suggest setting this time to less than 10 minutes, unless you expect specifically long conversations.
“Please be aware that some people may realize it’s an AI and leave the call open to use up your minutes.”
Step 8 – Developer Settings
In this area, you can choose different providers for your services, such as STT, TTS, and GPT.
Step 9 – Voice Settings
For the last step, check everything you have set up and click the “Create Agent” button in the bottom-right corner to create your AI agent.
Step 10 – Review
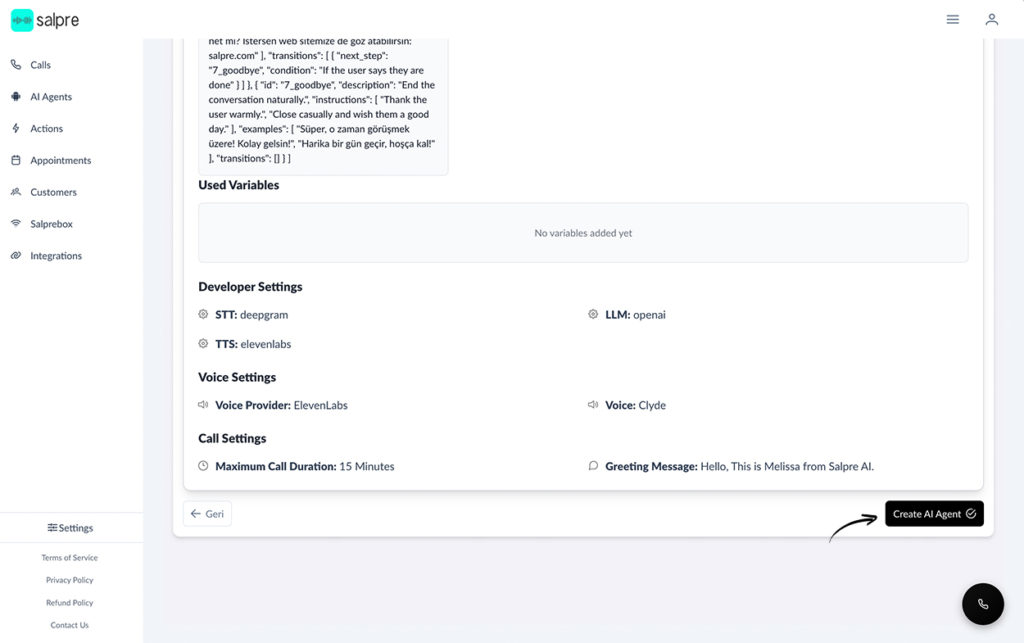
For the last step check every thing you made and click Create Agent button on bottom right to create your AI agent.